Nordic Blades
Why Nordic Skates?
If you like to skate on frozen lakes and ponds, Nordic Skates are the best choice, because they’re the only skates designed specifically for recreational skating on outdoor natural ice. Outdoor ice isn’t always smooth and hard; it can be rough, bumpy, crusty, soft or snow-covered, and outdoor skates need to perform well in all conditions. Plus the boots need to be well-insulated to keep your feet toasty in frigid temperatures. In contrast, conventional hockey, figure and so-called ‘comfort’ skates are designed for the climate-controlled air and smooth artificial ice of an indoor rink, where a Zamboni resurfaces the ice every hour.
Why is the boot separate from the blade?
The Nordic Skate system is a marriage between cross-country ski boots and bindings on the one hand, and a specially-designed skate blade on the other. It’s a throwback to the early days of skating, when Henry David Thoreau and his contemporaries walked down to the ice in their winter boots and then strapped on a pair of blades to skate across Walden Pond. Nearly 200 years later, Dutch and Swedish skaters discovered that the new-style cross-country ski boots and bindings had the ideal feature set for outdoor ice skating. All they had to do was design a blade that you could mount a cross-country binding on. And the rest was history!
How are the blades different?
Nordic blades are longer than conventional skates, and they have long, curved tips just like skis, so they can handle uneven surfaces - riding up and over bumps and in and out of cracks without tripping you up. In contrast, hockey skates’ blunt tips and figure skates’ toe picks are the ultimate safety hazard on outdoor ice. Furthermore, the Nordic blades are flat-ground instead of hollow-ground. This distributes your weight over a larger area, helping you go faster with less effort. Nordic blades glide on top of the ice while hockey and figure blades dig in.
What are the four principal advantages of the Nordic Skate system?
1. Comfort: Cross-country ski boots are warmer and more comfortable than other types of skates.
2. Convenience: Put on your boots at home, drive or walk to the ice, and clip on the blades when you step onto the ice. No need to expose fingers or toes to frigid temperatures!
3. Safety: Nordic skates are less prone to trip-and-fall hazards on imperfect ice - bumps, cracks, crusty patches.
4. Speed: More efficient than figure or hockey skates, Nordic blades glide on top of the ice, while other blades dig in, wasting precious energy.
Why the free heel?
The Nordic Skate system makes use of off-the-shelf Nordic ski boots and bindings, which are only attached at the toe. In terms of ice skating technique, there’s no advantage or disadvantage to a free heel. Having a single attachment point just makes it quicker and more convenient to clip your blades on and off. If your bindings are good quality and have a stiff-enough toe bumper (flexor), your boot and blade will behave as a single unit, which is what you want to achieve.
What about technique?
1. Set an edge. Nordic blades are flat-ground instead of hollow-ground, so you need to tilt your ankle to the inside in order to control your direction.
2. Push to the side. Set the blade down, shift your entire weight onto it and push sideways.
3. Lengthen your stride. Keep pushing on that blade for as long as you can, until you feel like you’re about to lose your balance, before shifting your weight to the other leg.
4. Keep your feet level. Nordic blades stick out pretty far in front of your toes. If you lift your heel at the end of your stride, as many skaters do, when you set the blade down again you risk catching the tip in the ice and tripping over it. So lift your entire foot, not just your heel. And don’t lift it too high. An inch is plenty (unless you’re skating through deep snow).
5. More technique suggestions here.
What brands are good? How much do they cost? Are they worth the money?
Nordic blades typically cost $100 to $300 a pair, not including the bindings.
Here are the top brands, from the cheapest to the most expensive:
1. Isvidda (made in China)
2. Nordic Skater (made in the Netherlands)
3. Lundhags (made in Sweden)
4. Zandstra (made in the Netherlands)
5. Ermine (made in the USA)
6. Skyllermarks (made in Sweden)
You get what you pay for. The more expensive blades are made from harder steel, which holds an edge longer and needs less sharpening. Buy a more expensive blade and you’ll save time and money on sharpening. For example, on clean, dirt-free New England ice, Isvidda blades typically stay sharp for a year; Lundhags blades stay sharp for two years; Skyllermarks and Zandstra blades can go up to five years before they need sharpening. But if you skate out west in Montana or Alaska, all bets are off, as dust and dirt blowing onto the ice from shore can dull your blades in a single outing. If you have to sharpen your blades after every use, harder steel doesn’t buy you much.
What length blades to get? And how many pairs?
The blade has to be long enough to accommodate the length of the XC ski binding and the length of your boot. And it has to be short enough to be maneuverable and not cumbersome.
Contrary to popular belief, longer blades are NOT faster, if you’re on good quality ice. They’re only better on bad ice. They’ll glide across the tops of the bumps, while a shorter blade might fall into the troughs between the bumps. On soft ice they’ll stay on top of the surface while a shorter blade might sink in.
Here are my blade length suggestions based on your height. These lengths work best on good quality ice - not too bumpy, not too soft, not too snow-covered.
5’1” and shorter: 40cm (15”)
5’2” to 5’8”: 45cm (17”)
5’9” to 6’3”: 50cm (19”)
6’4” and taller: 55cm (21”)
If you plan to skate in adverse conditions - bumpy, soft, or snow-covered - get a second pair of blades 5cm (2”) longer than the lengths listed above. Longer blades definitely improve your performance and enjoyment on poor quality ice.
Are all brands of Nordic Skates sized the same?
No. Most manufacturers (like Isvidda and Lundhags) measure the length of the aluminum platform, but Zandstra measures the length of the steel blade, which is shorter than the platform. Zandstra skates are actually about 2.5cm (1”) longer than the labeled length.
What kind of bindings, and where to mount them?
Bindings must match your boots, so pick out your boots first, and then get bindings to match. Your boot sole has a logo stamped into it that indicates which binding system matches up with it: NNN, NNN-BC, or SNS.
Use manual bindings, which have rugged components that can withstand the stresses of skating. Step-in bindings can get clogged with snow and you have to bring them indoors to thaw them out. Lastly, some step-in bindings only work when mounted on a cambered ski. If you mount them on a flat surface like a Nordic skate, the toe slot simply won’t open up wide enough to connect with your boot.
Make sure your bindings have stiff ‘flexors’ (toe bumpers) that are designed for skating. If you use a soft flexor, when you lift your foot at the end of your stride, the tail of your blade will hang down from the heel of your boot, dragging on the ice and slowing you down. If you accidentally twist your foot, it could damage the boot and/or binding.
Positioning the binding front-to-rear can be tricky. Some blades have only a single mounting position; these blades should be avoided because you may be forced to mount the bindings in a position that’s totally wrong for your boot size and skating style. Good-quality blades have at least three sets of pre-drilled mounting holes to choose from, and the best blades have mounting slots instead of individual holes, so you can fine-tune the binding position.
To find the correct mounting position, clip your boot into a binding, set it down on the blade, and notice where your boot sits relative to the driving part of the blade. (This is the flat section of blade that contacts the ice, not the part that curves up off the ice.)
If your boot is centered on the driving part of the blade, this is the ‘aggressive’ or ‘performance’ mounting position. Your blades will be more maneuverable on good ice, but less stable on bad ice.
If your boot is to the rear, this is a more ‘recreational’ position, which makes your blades less maneuverable, but more stable on bad ice. In Sweden some skaters place their boot heel directly over the tail of the blade; this is taking things to the extreme. I prefer to have at least one inch of blade behind my heel.
If your boot is forward of the center, you’ll be unstable and you could trip and fall and get hurt. Move the bindings further back. If the mounting holes don’t allow it, you’ll need to switch to a different length blade, or a different model.
What about sharpening?
Your blades need to be sharp at the beginning of the season, when you’re likely to encounter the hardest, smoothest black ice. As the season progresses, soft gray ‘snow ice’ tends to dominate, and sharp blades are no longer necessary. So I just let my blades get duller and duller and I wait to sharpen them until the spring or summer to prepare for next season.
Whether you build a homemade jig or buy a high-end Zandstra jig, successful sharpening requires both blades to be sharpened together, and they must be precisely aligned both vertically and front-to-rear in the jig, in order to preserve not only the 90-degree edges but also the vertical curvature or ‘rocker’ that allows the blade to pivot around its midpoint when you change direction.
I use a Zandstra tabletop jig and a DMT 10-inch diamond stone. I keep the stone horizontal at all times, but instead of sliding it directly front to rear, I move it diagonally, taking a number of strokes from southwest to northeast and back, then an equal number of strokes southeast to northwest and back. This method evens out the wear on the surface of the stone, without adversely affecting the sharpened edges. As a final step I use a small pocket-sized stone to deburr the edges, taking several strokes from front to rear on each side of the blade.
Have more questions?
Please fill out the Contact Form or email nordicskate@gmail.com

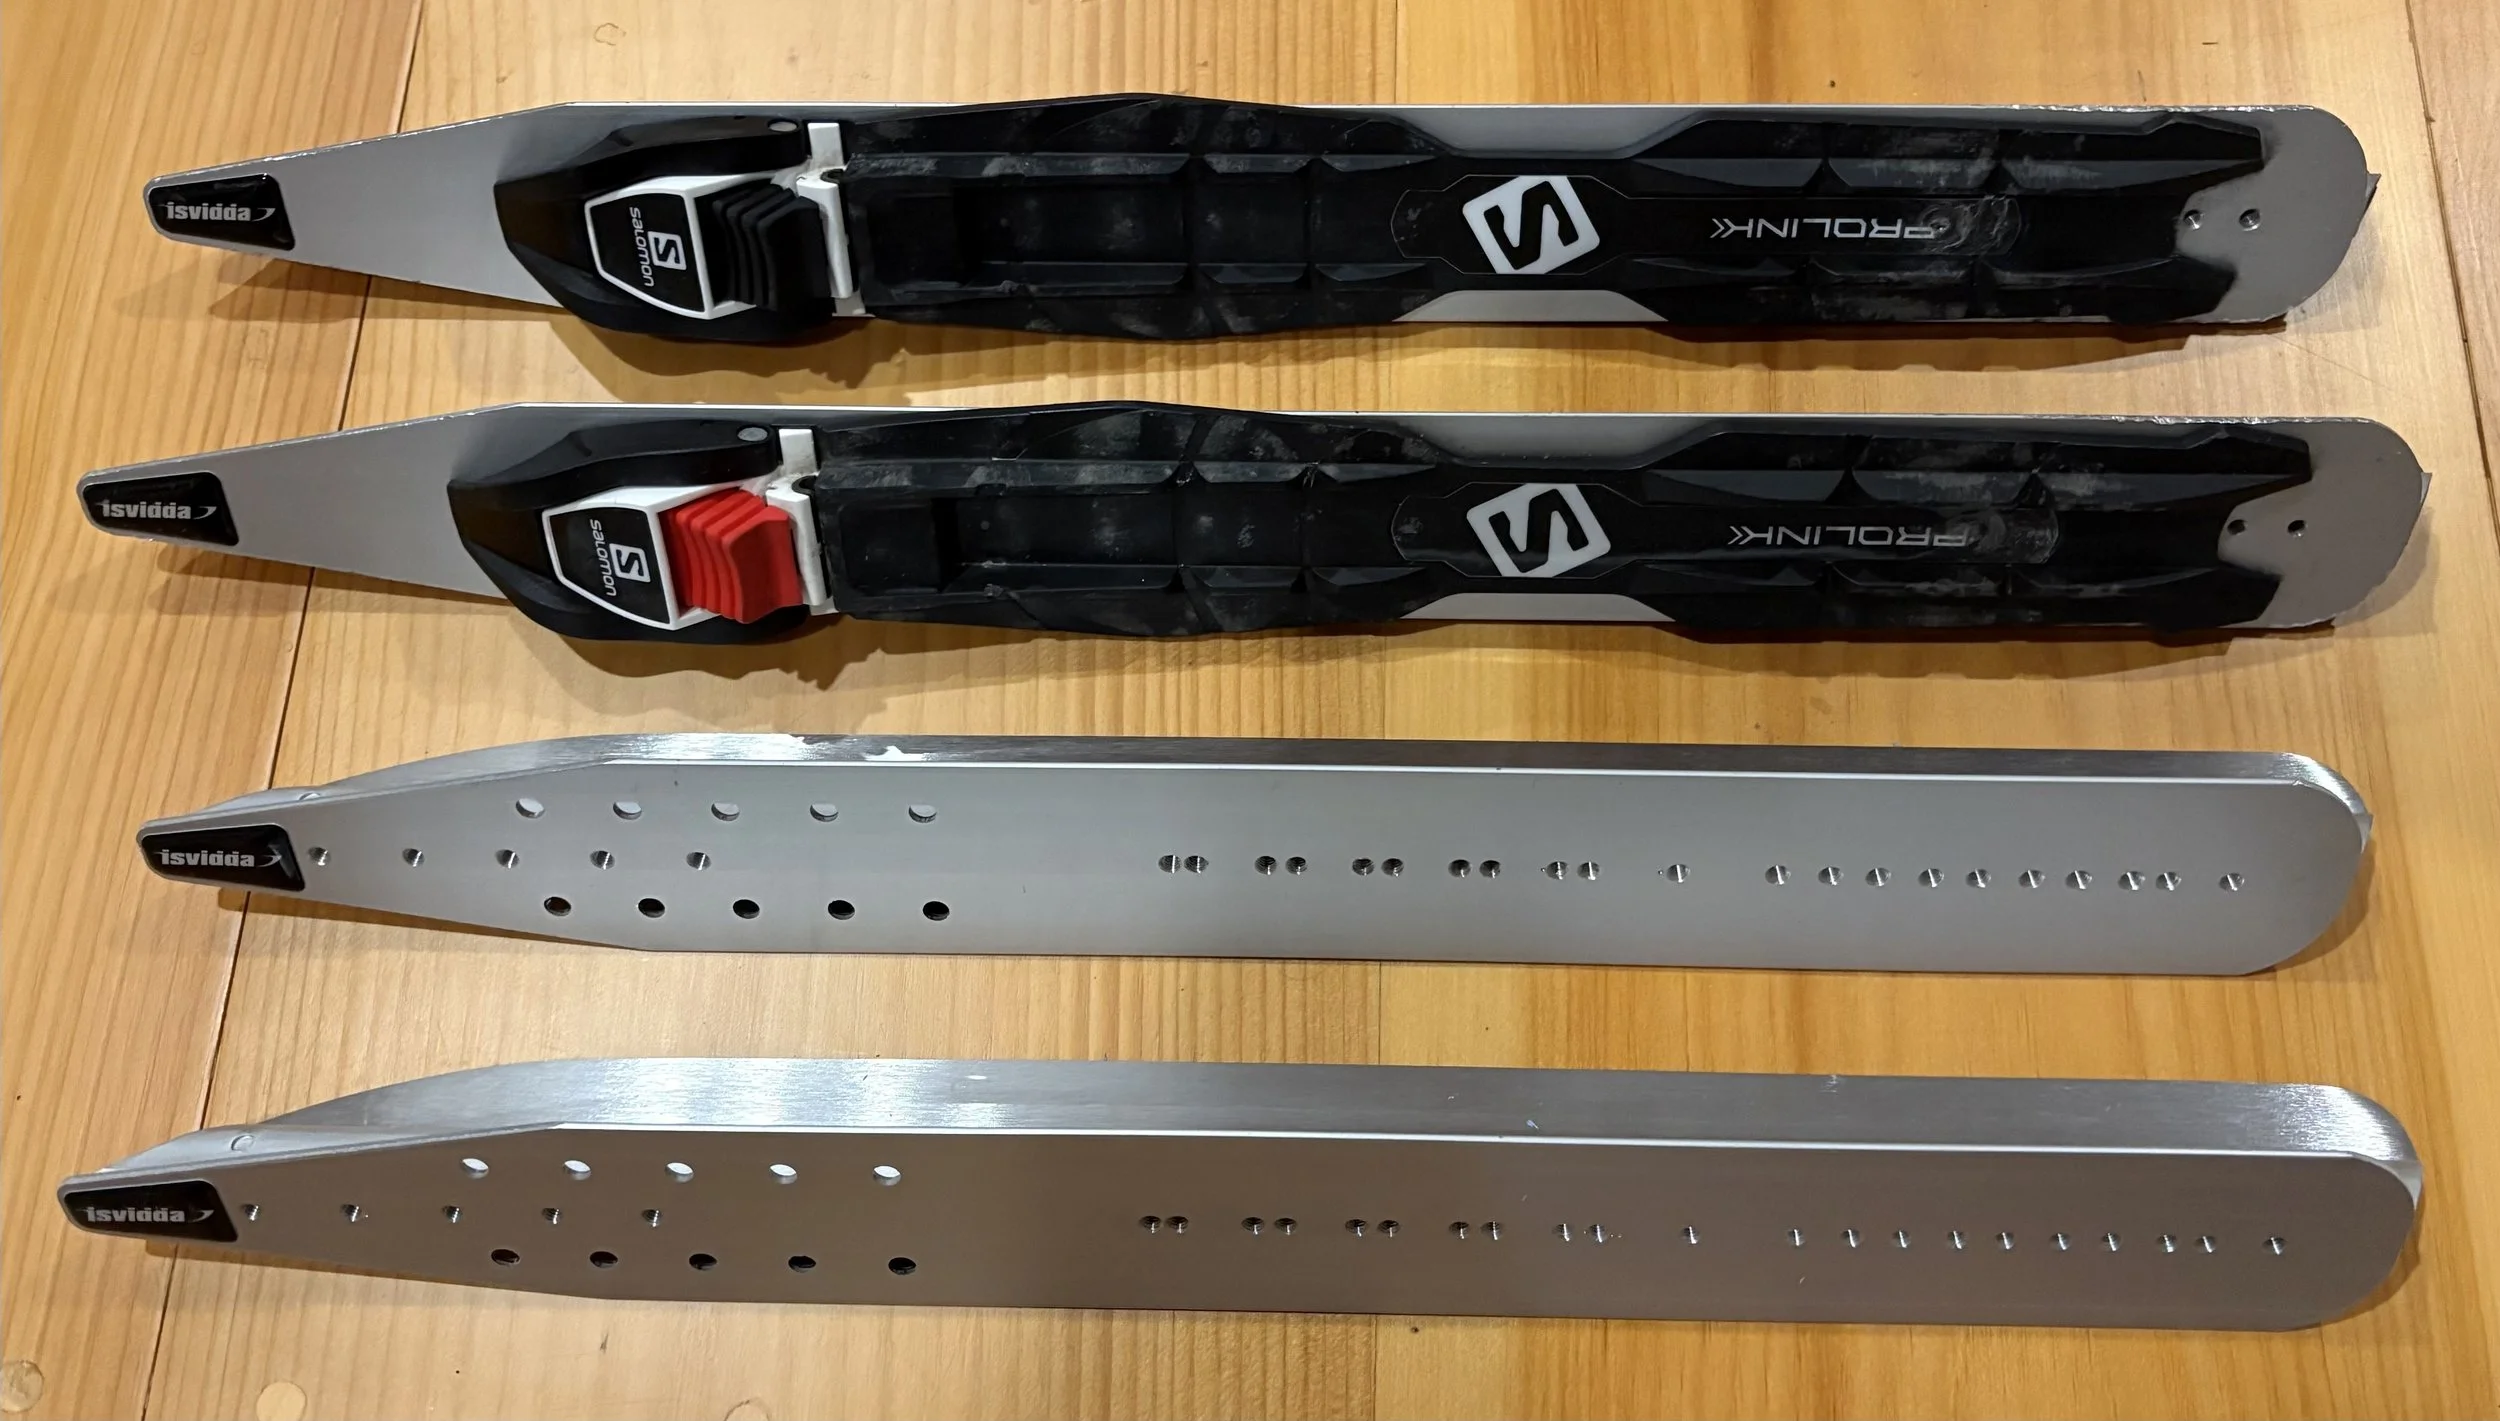
Below: Isvidda Nordic Skate blades, shown with and without bindings. Limited quantities available in 45cm (17”) and 50cm (19”) for $99/pair without bindings.
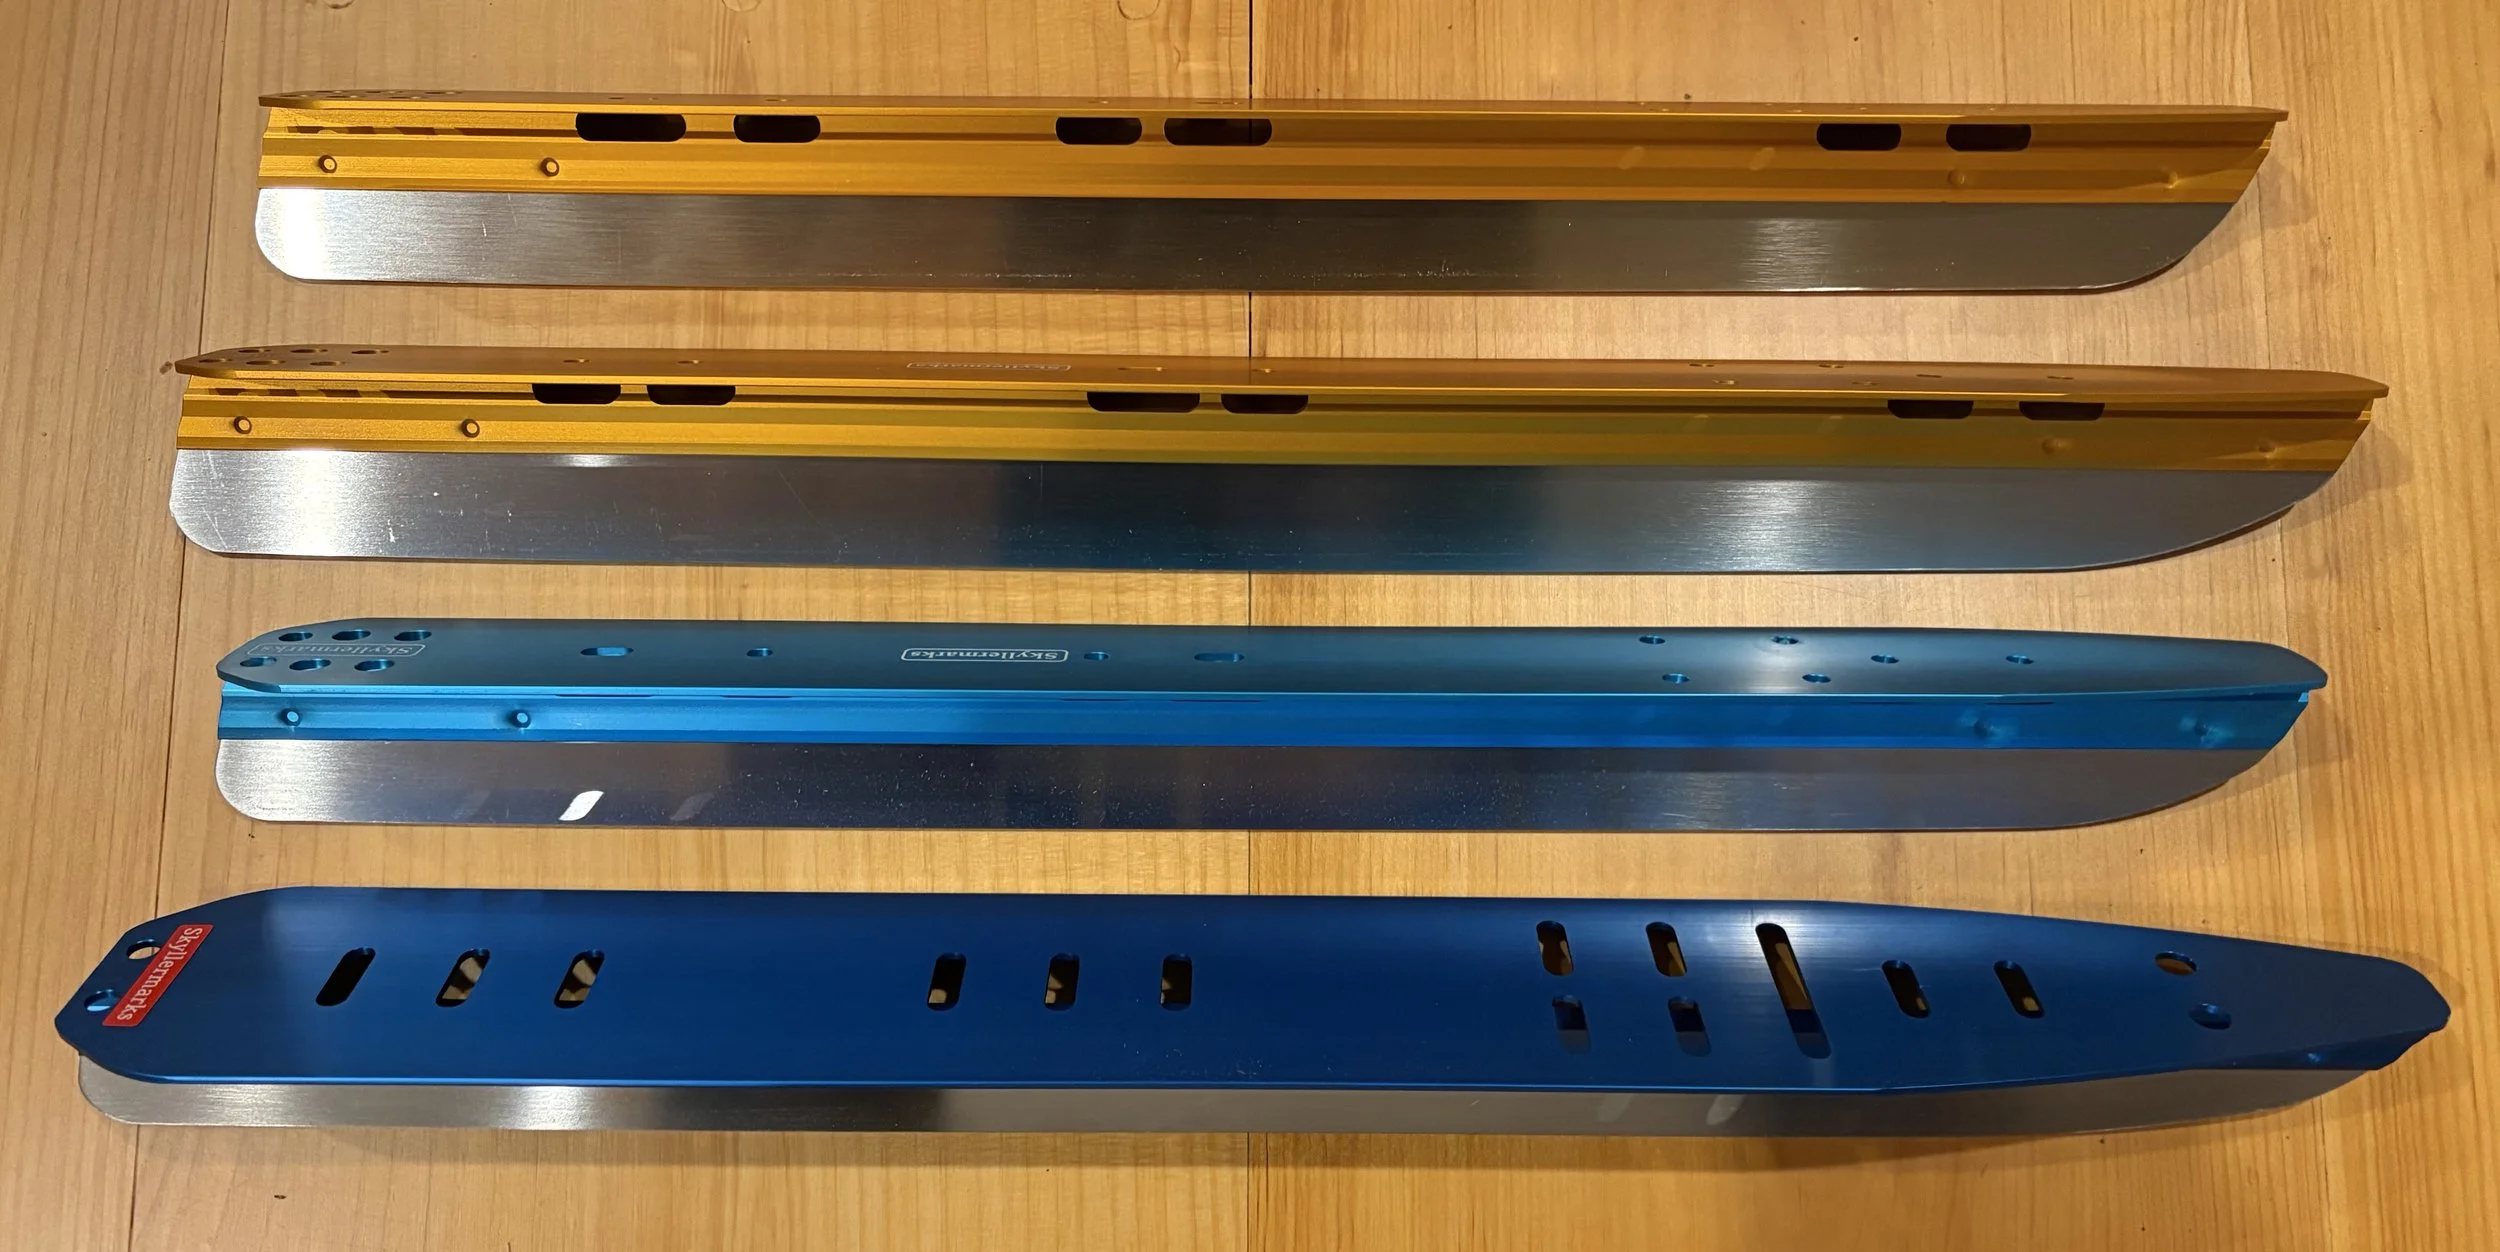
Below: Skyllermarks Nordic Skates made in Sweden.
Colors available: Orange, Deep Blue, Baltic.
Limited quantities $199/pair without bindings.